How to test metal hardness?
What is the definition of hardness testing?
In order to identify whether a material or material treatment is acceptable for the purpose for which you require it, you can use the use of hardness testing to assess material qualities such as strength, ductility, and wear resistance.
Testing for hardness is defined as "a test to ascertain a material's resistance to permanent distortion by penetration of another, harder substance." Nevertheless, hardness is not a fundamental characteristic of a substance.

How do hardness tests work?
In order to assess a material's hardness, you normally push an item (an "indenter") into its surface with a certain size and weight. Hardness can be assessed by measuring the indenter's depth of indentation, the size of the indentation left by the indenter, or the impacting body's rebound and impact velocities.
Hardness tests that measure the depth of indentation penetration include: Rockwell hardness, meter indentation test and ball indentation hardness
Hardness tests that measure the size of the indentation left by the indenter include: Vickers, Knoop and Brinell
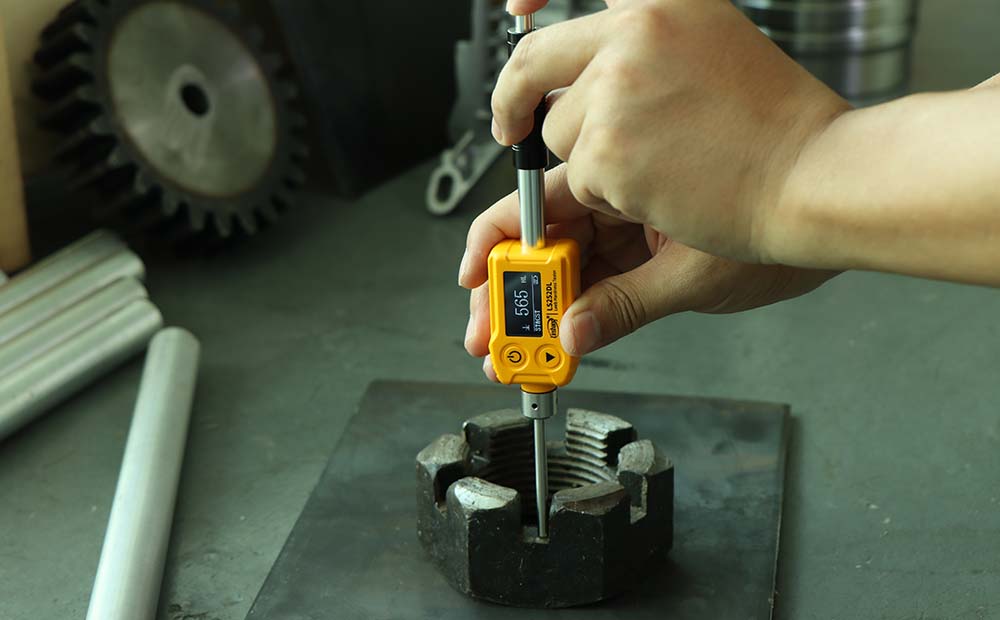
Hardness tests that measure the rebound velocity and impact velocity of the impacted body include: Leeb
How to select the test method?
The microstructure of the material being tested (such as homogeneity), as well as the kind of material, the component size, and its state, should all be taken into consideration when selecting a hardness test.
The material under the indentation should reflect the complete microstructure in all hardness tests (unless you are trying to determine the different components of the microstructure). As a result, a greater imprint is needed than with a homogenous material if the microstructure is particularly coarse and uneven.
There are five major hardness tests, each with their own advantages and prerequisites. The many criteria for these tests provide detailed explanations of the methods and uses of hardness testing.
Important considerations when choosing a hardness test method include:
The type of material to be tested for hardness
Whether compliance with the standard is required
The approximate hardness of the material
Homogeneity/heterogeneity of the material
Size of the part
Whether mounting is required
Number of samples to be tested
Required accuracy of results
Five common methods for measuring hardness
Rockwell Hardness Test
Rockwell hardness is a fast hardness test method developed for production control with direct readings and is mainly used for metallic materials. Rockwell hardness (HR) is calculated by measuring the indentation depth after the indenter has been pressed into the specimen material under a given load. Usually used for larger sample geometries. Mainly used for "quick tests" on metallic materials. Can be used for advanced tests such as the Jominy (end-hardening) test (HRC).
Vickers Hardness Test
Vickers hardness is a hardness test for all solid materials, including metallic materials. Vickers hardness (HV) is calculated by measuring the diagonal length of the indentation left by the introduction of a diamond pyramid indenter with a given load into the sample material. To determine hardness, the diagonal of the indentation is measured optically using a table or formula. For hardness testing of all solid materials, including metallic materials. Includes a subgroup of weld hardness tests.
Knoop Hardness Test
The Noah's (HK) is an alternative to the Vickers test in the microhardness testing range. It is mainly used to overcome cracking in brittle materials and to facilitate hardness testing of thin layers. The indenter is an asymmetric prismatic diamond and the indentation is measured by optically measuring the long diagonal. This method is used for hard and brittle materials, such as ceramics. For small elongated areas, e.g. coatings.
Brinell Hardness Test
The Brinell hardness test is used to test the hardness of larger samples in materials with a rough or inhomogeneous grain structure. The Brinell hardness test (HBW) indentation leaves a relatively large impression and uses a tungsten carbide ball. The size of the indentation is optically read. This method is used for materials with rough or inhomogeneous grain structure and larger samples. For forgings and castings with large structural elements.
Leeb hardness test
The impact body is used to impact the surface of the metal material under the action of elastic force, and the Richter hardness is calculated using the ratio of the impact velocity and rebound velocity calculated at 1mm from the measured metal surface. Suitable for heavy, large, installed metal material hardness measurement.

Surface preparation requirements for hardness testing
Before performing a hardness test on metallic or other materials, the surface must be pre-treated. The required surface conditions depend on the type of test and the load to be used. In general, the quality of the surface treatment has a direct influence on the hardness test results, so you should weigh the difference between the surface quality and the test results before deciding on an inferior surface treatment.
Macroscopic hardness testing
Polished surfaces are usually sufficient and sometimes do not need to be prepared.
Micro hardness testing
Due to the low loads used during hardness testing, micro hardness testing requires polished or electropolished surfaces. It is important that the boundaries/corners of the optically evaluated impressions are clearly visible. This can be done mechanically, chemically or electrochemically. It is important that heating or cold working does not change the surface properties of the specimen.
Indentation spacing
During hardness testing, indentations deform the surrounding material and change its properties. In order to avoid misinterpretation of the perceived hardness, the standard specifies a certain distance between multiple indentations.
Examples of indentation spacing for Vickers hardness tests on metallic materials
For steel, copper and copper alloys: the distance between indentations must be at least three times the diagonal width
For lead, zinc, aluminum and tin: the spacing between indentations must be at least six times the diagonal width
How to ensure accuracy and repeatability of hardness testing?
The proper application of hardness testing requires careful preparation and execution. However, once the basics are mastered, most hardness tests can provide good accuracy and repeatability.
Factors affecting hardness testing
Many factors can affect hardness test results. In general, the lower the load you use in your hardness test, the more factors you need to control to ensure accurate conclusions from your hardness test.
Here are a few of the most important factors to consider to ensure accurate conclusions from your hardness test
External factors such as light, dirt, vibration, temperature and humidity should be controlled
The tester and carrier should be fixed on a sturdy horizontal table, and the sample should be clamped or fixed on a stand or anvil
The indenter should be perpendicular to the surface to be measured
When using Vickers, Nuss or Brinell, the illumination setting should remain the same for the duration of the test
The tester should be recalibrated/validated each time the indenter or objective is changed
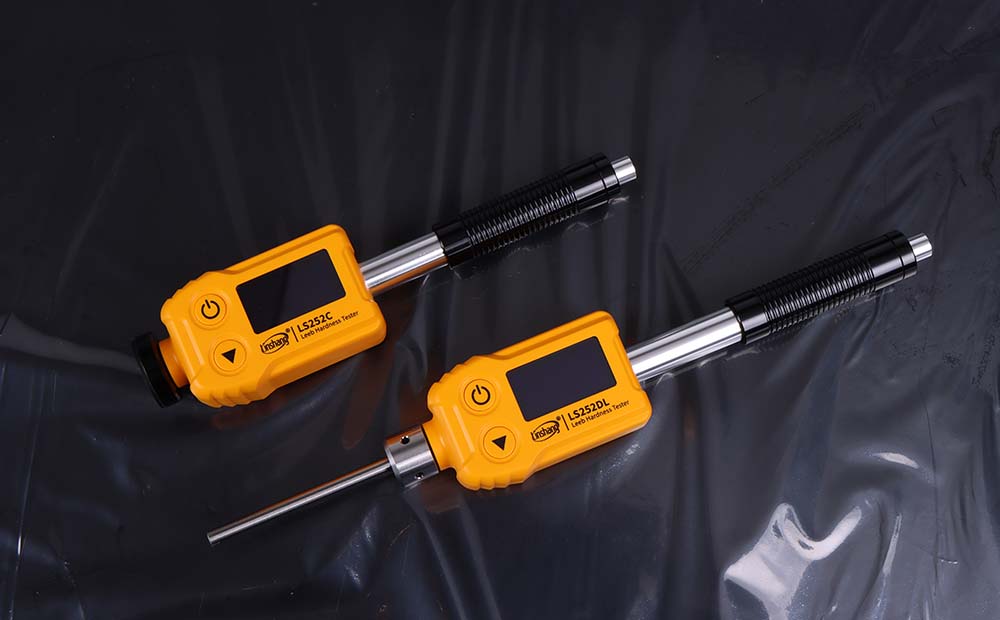
Here we recommend using Linshang's LS252D metal Leeb hardness tester for metal hardness testing, the pen type Leeb hardness tester is compact and easy to carry. Linshang's metal Leeb hardness tester uses advanced double coil technology to measure results with high accuracy and high repeatability, and also has a direction sensor, 360° all-round direction compensation measurement without worry.
- Check Window Film with Light Transmittance Tester
- Linshang UV Light Meter-Dedicated for UVC Germicidal Lamp
- How to Measure the Gloss of Matte Brick with Gloss Tester?
- UVB Radiometer for Sales
- LS117 Densitometer Measure Application
- The Principle of Linshang UV Energy Meter and UV Integrating Radiometer