What is Coating Thickness Gauge?
I. What is a coating thickness gauge?
1.1 Coating thickness gauge introduction
The coating thickness gauge is an instrument for measuring the surface coating thickness on various substrates. To select a coating thickness gauge, we need to know the substrate first. Coating thickness gauges that can non-destructively measure the metal substrate or non-metal substrate are most widely used. Such as the high-precision coating thickness gauges of magnetic thickness measurement and eddy current thickness measurement principles and ultrasonic coating thickness gauges.
1.2 Coating thickness gauge application
Magnetic thickness measurement + eddy current thickness coating thickness gauge can measure the non-magnetic coating thickness on the magnetic metal substrate surface and the non-conductive coating thickness on the non-magnetic metal substrate surface. Common application scenarios are measuring coating thickness such as steel , paint, enamel, anticorrosive coating, fireproof coating on the magnetic metal substrate surface and the coating of paint, plastic, plating on the surface of aluminum and copper. Ultrasonic coating thickness gauges can measure the coating thickness on the non-metal substrate surface. Ultrasonic coating thickness gauges are used to measure the coating thickness between different media such as paint on wood surfaces and coatings on plastic surfaces. Below we have a detailed understanding of the coating thickness gauge and coating thickness gauge manufacturers.
II. Linshang coating thickness gauge
Probe type: Built-in integrated
Measuring range: 0.0-2000 μm
Measurement accuracy: ≤ ± (3% of reading + 2 μm)
Probe type: separate type
Measuring range: 0.0-2000 μm
Measurement accuracy: ≤ ± (3% of reading + 2 μm)
Measuring range: Fe: 0.0-5000 μm; NFe: 0.0-3000 μm
Eddy current measurement principle
Measure anodic oxide layer thickness of aluminum
Measurement range: 0-1500μm
Use digital oscillation technology
Support zero adjustment and 1-5 points calibration
Data statistics function
III. Coating thickness gauge measurement principle
3.1 Magnetic suction thickness gauge measuring principle
This measuring principle is mainly used to measure the coating thickness of magnetic metal substrates. In simple terms, a magnet is installed on the probe of the instrument. There will be a certain magnetic attraction between the magnet and the magnetic substrate. The thicker the coating between the probe and the magnetic substrate, the smaller the magnetic attraction force. The thinner the coating, the greater the magnetic attraction force. There is a certain proportional relationship between the two.
The internal structure of this coating thickness gauge is relatively simple and consists of magnetic steel, relay yellow, scale and self-stop mechanism. The coating thickness will affect the magnetic attraction. The magnitude of the magnetic attraction will affect the length of the spring. In general, the tensile force of the spring will be just greater than the suction force. The moment the magnetic steel is detached, the coating thickness gauge will record the amount of tensile force to obtain the coating thickness.
3.2 Magnetic thickness gauge principle
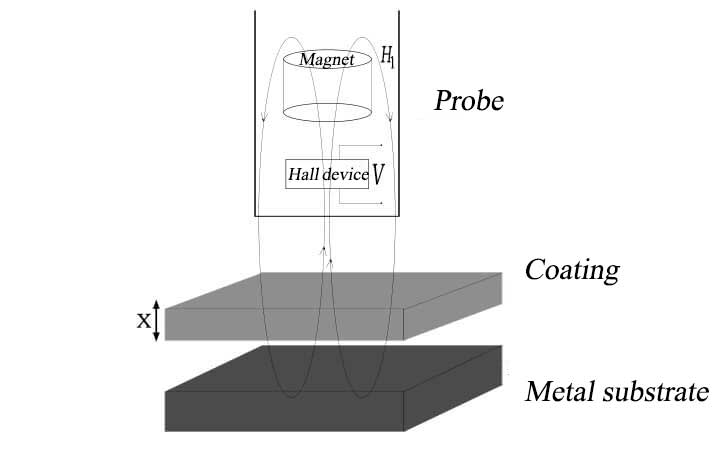
This measuring principle of high-precision coating thickness gauge is also mainly used to measure the coating thickness on magnetic metal substrates. There is a certain relationship between the coating thickness on the magnetic metal substrate surface, the reluctance and magnetic flux. And we also use this relationship to calculate the coating thickness on the magnetic metal substrate surface. The coating thickness is measured using the amount of magnetic flux that the probe passes through the non-magnetic coating and flows into the magnetic metal substrate. Generally, the thicker the coating on the substrate surface, the larger the magnetic resistance and the smaller the magnetic flux.
The coating thickness gaugeusing the principle of magnetic induction measurement has certain requirements on the magnetic permeability of the substrate. It generally requires that the magnetic permeability of the substrate is above 500. If the coating on the substrate surface is also magnetic, the difference in permeability between the substrate and the coating needs to be sufficiently large. Some coating thickness gauge manufacturers will also use temperature compensation technology to modulate the measurement signal using magnetic resistance to make the measured data very stable. The coating thickness gauge made by the principle of magnetic induction measurement is widely used. Not only can it be used to accurately measure the paint, protective layer, plastic, rubber, etc. on the surface of steel, but it can also be used to measure the coating thickness of metal plating layers including nickel and chromium (iron nickel plating cannot be measured). Petrochemical and other anticorrosive coatings can also be measured.
3.3 Eddy current thickness gauge principle
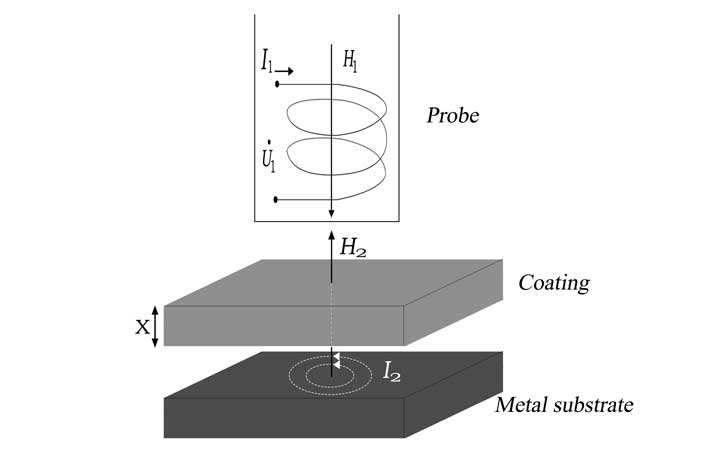
The principle of eddy current measurement is simply that a high-frequency AC signal generates an electromagnetic field in the probe coil. An eddy current is formed when the probe is close to a conductor (generally a metal). The size of the eddy current has a certain relationship with the distance between the probe and the conductive substrate. The closer the probe is to the conductive substrate, the larger the eddy current and the larger the reflection resistance. When the probe is farther from the conductive substrate, the eddy current will be smaller and the reflection impedance will be smaller. So this quantity directly indicates the size between the probe and the conductive substrate, that is, the coating thickness.
This non-magnetic probe generally uses high-frequency materials as the coil core. The biggest difference from the above measurements is that the probe is different, the signal frequency is different. The signal size and scale relationship are also different. Surface coating thickness gages based on the principle of eddy current measurement are mainly used to measure the coating thickness of non-conductive substrates. For example, household appliances, aircraft surfaces, aluminum alloy doors and windows, non-magnetic metal substrate surface plastic coatings and anodized films.
IV. How to choose a coating thickness gauge?
For the selection of coating thickness gauge, we have to choose the best coating thickness gauge according to the actual situation. Different application scenarios require different coating thickness gauges. Choose from the following perspectives:
4.1 Select the coating thickness gauge according to the measurement occasion
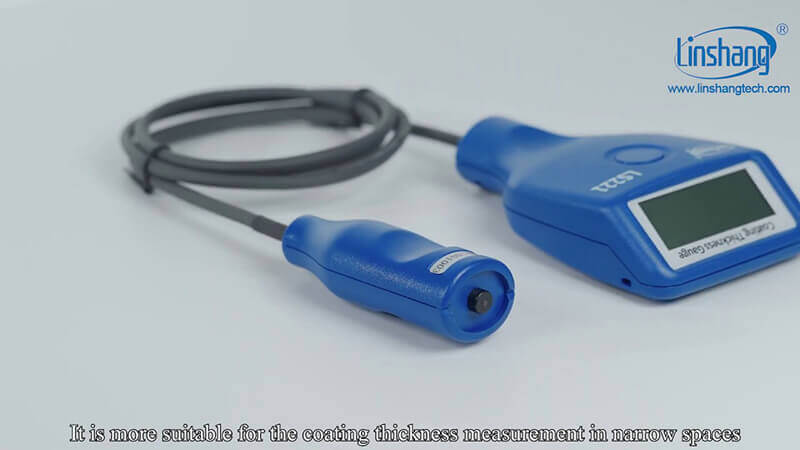
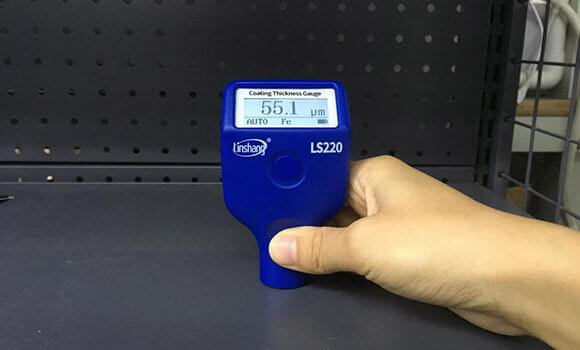
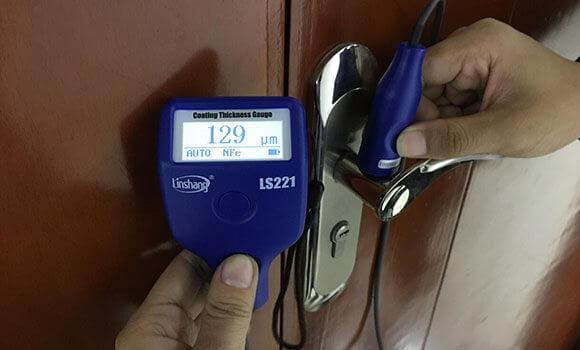
If the measured object surface is relatively flat and the space is relatively large, it is recommended to use a high-precision coating thickness gauge integrated with the host and the probe, such as the Linshang LS220H. If the measurement space is relatively small, it is recommended to use a separate type coating thickness gauge, such as Linshang LS221, LS223.
4.2 Select the coating thickness gauge according to the size of the measured material
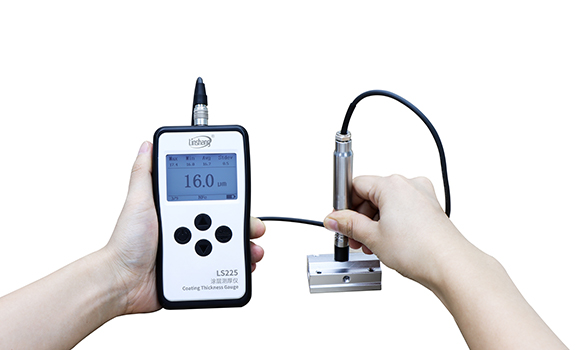
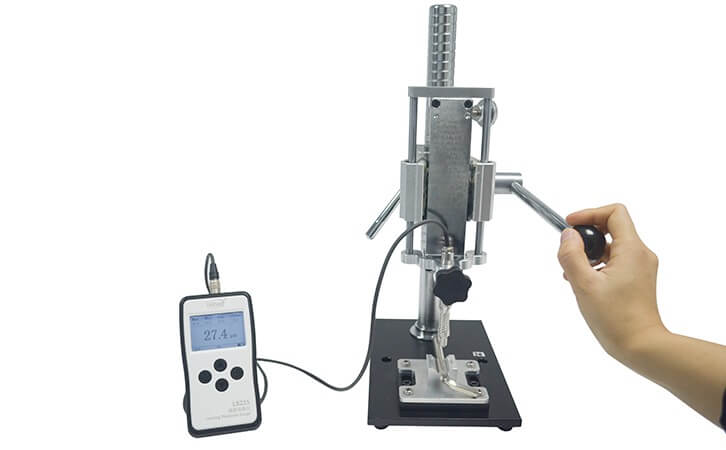
It is recommended to use integrated or split coating thickness gauges such as LS220H, LS221, LS223 to measure the coating thickness of common materials. If the measured object is relatively small, it is recommended to use Linshang LS225 coating thickness gauge. The LS225 coating thickness gauge is especially suitable for measuring small screws, nuts and shaped materials. Users can also choose whether to use fixtures according to their needs. The fixture makes measurement very convenient.
4.3 Select coating thickness gauge according to measurement range
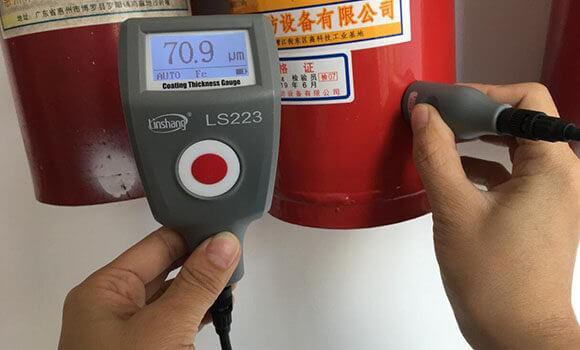
According to the coating thickness on the object surface, a coating thickness gauge with a suitable measurement range is selected. Generally, the paint coating is relatively thin. A coating thickness gauge with a general range of 0-2000 μm is used, such as LS220H and LS221. However, some fireproof coatings or anticorrosive coatings are relatively thick, because if these two coatings are too thin, they will directly affect the performance of the fireproof coating or anticorrosive coating. Therefore, if measuring fireproof coating or anticorrosive coating, it is recommended to purchase Linshang LS223 coating thickness gauge. This coating thickness gauge is a large-range instrument with a separate host and probe. The probe's measurement range is up to 5000μm, which is very suitable for measuring thicker coatings.
4.4 Ultrasonic thickness gauge measuring principle
The coating thickness gauge based on the principle of ultrasonic measurement mainly uses an ultrasonic probe to send pulses to reach the measured objects and to propagate between the measured objects. When the pulse from the probe reaches the interface of the material, the pulse returns to the probe. The coating thickness gauge mainly measures the coating thickness layer by accurately measuring the propagation time of the ultrasonic wave in the material. Ultrasonic coating thickness gauge is mainly used in good conductor of ultrasonic wave. The disadvantage of this coating thickness gauge is that it is expensive and has low measurement accuracy. It is rarely used in the domestic coating thickness gauge industry.
4.5 Laser coating thickness gauge measurement principle
Laser coating thickness gauge is a kind of non-contact dynamic measurement coating thickness gauge. It mainly uses light cutting method to measure and observe the micro-geometry of the substrate surface to measure the coating thickness of the product, which is a lossy measurement.
4.6 Fluorescent X-ray and β-ray thickness gauge measuring principle
These two measurement principles are mainly used to determine the coating thickness of a material when the radiation penetrates the material under test, the correlation between the degree of change in the radiation and the material thickness. It is also a lossy measurement.
V. Linshang Coating Thickness Gauge Pros
The coating thickness gauges of different manufacturers use different methods. Below we take the coating thickness gauge of Linshang as an example to see how to use the coating thickness gauge. Chinese coating thickness gauges are getting better and many users have chosen domestically made coating thickness gauges. For example, the Chinese coating thickness gauge brand Linshang Technology, Linshang coating thickness gauges are cost-effective. The products have the following characteristics:
The probe adopts ruby, which increases the abrasion resistance of the probe and prolongs the service life of the coating thickness gauge invisibly.
The Linshang coating thickness gauge is an iron-based and non-iron-based coating thickness gage. The probe can support triggering. Three measurement modes can automatically identify the substrate, quickly and automatically switch.
We only need to perform zero adjustment before using Linshang coating thickness gauge. The only button designed makes the operation of the coating thickness gauge simple and convenient.
The coating thickness gauge produced by Linshang is integrated with the host and the probe. As a coating thickness gauge supplier, Linshang Technology also developed split type coating thickness gauge. Linshang coating thickness gauges have both large measurement ranges and small measurement ranges. It is very convenient for users to choose according to their needs.
Linshang high-precision coating thickness gauge uses advanced digital probes to ensure good measurement accuracy and measurement repeatability. Linshang coating thickness gauges are guaranteed to pass Chinese national measurement.
Linshang coating thickness gauge has a temperature compensation function and a digital function on the analog signal end. These two functions make the sensing signal of the coating thickness gauge more stable. And in the case of large temperature differences, it can ensure that the measurement accuracy is not affected.
- High precision coating thickness gauge for used car
- Automotive paint protection films coating thickness gauge
- Plating Thickness Measuring Instrument for Detecting Anti-corrosion Coating
- Linshang LS220, LS191, LS160A– Necessary for Car Cover Inspection
- Coating Thickness Gauge for Second Hand Vehicle
- Zero Adjustment Step of Coating Thickness Gauge
