How to calibrate ultrasonic thickness gauge?
Ultrasonic thickness gauge is suitable for testing the thickness of metals, plastics, ceramics, glass and any other ultrasonic good conductor. Its principle is to use ultrasonic pulse reflection for thickness measurement, which can be used in the production equipment of various pipes, pressure vessels wall thickness and large area plate thickness measurement to achieve nondestructive testing. The ultrasonic thickness gauge tuning suggestions are discussed in this article using the ultrasonic thickness gauge tuning method.

I. What is Ultrasonic Thickness Gauge Calibration?
Ultrasonic thickness gauges work by producing an ultrasonic signal and precisely timing the signal at the transmitting and receiving sites to determine the thickness of a test sample. However, the thickness gauge must be set up for the test sample's sound velocity in order to provide an entirely correct result. Additionally, all necessary zero offsets for the instrument, echo shape, and transducer type are put up along with this setup.
So, to put it briefly, calibration is the process of determining the accuracy of an ultrasonic measuring tool and correcting it. Since various materials require different calibrations, the thickness gauge's memory may store and retrieve the calibration values for each material as needed.
II. Why Ultrasonic Thickness Gauge Calibration is Needed?
For a number of reasons, ultrasonic thickness gauges need to be calibrated. The most crucial of these justifications is to make sure that the readings' accuracy complies with acknowledged and acceptable criteria. But this is only the very top of the iceberg.
The accuracy of ultrasonic thickness gauges is dependent on a number of characteristics, therefore if the measurements are inaccurate, the parameters will also be inaccurate. Numerous ultrasonic examinations frequently take into consideration certain factors, such as density, angle, shape, size, connection, etc. Additionally, by sending and receiving high-frequency sound waves through the test material, ultrasonic equipment may detect corrosion and erosion of test materials. Consequently, it's possible that uncalibrated ultrasonic thickness gauges can't detect these material decreases.
III. Ultrasonic Thickness Gauge Calibration Procedure
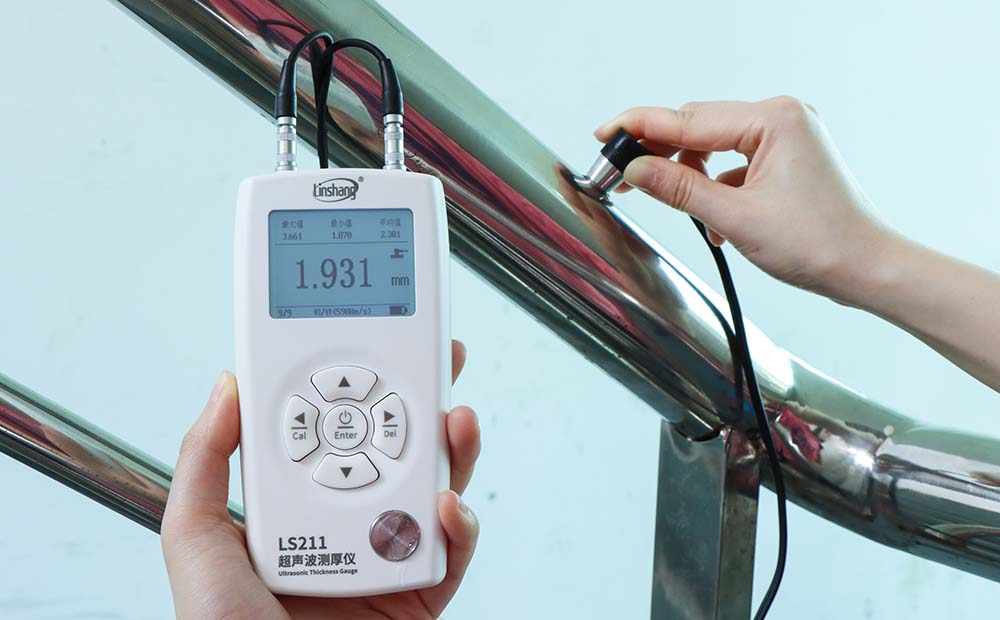
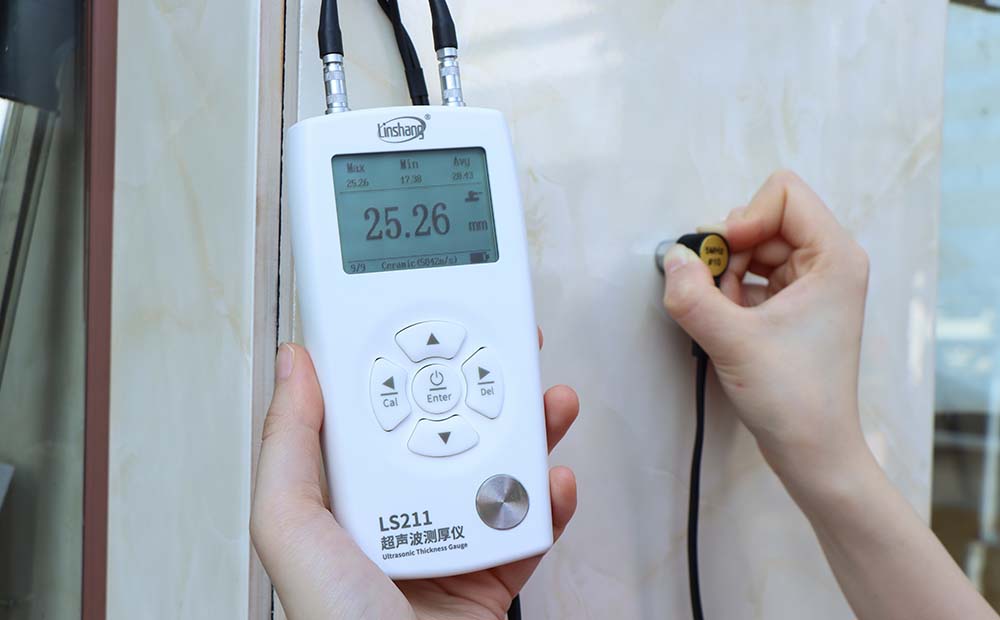
Next, we will demonstrate with the LS211 ultrasonic thickness gauge:
Before use, connect the two aviation plugs to the main unit of the instrument. The plugs can be inserted on both sides regardless of the left and right sides;
Short press the power button to turn it on, enter the reference calibration interface, and operate according to the interface prompts;
Apply couplant on the lower right standard block of the instrument;
Press the probe tightly on the standard block and keep it still, the couplant should cover the entire probe;
During this process, a coupling sign will appear in the upper right corner of the screen, and the calibration progress bar will also flash to indicate that it is being calibrated, keep it still;
Until the calibration progress bar stops flashing, accompanied by a beep, indicating that the benchmark calibration is complete;
The calibration results will be displayed on the screen, including the data of standard block thickness, standard block sound velocity and current sound velocity;
Afterwards, the instrument will enter the measurement screen, and the calibration is complete.

IV. Ultrasonic Thickness Gauge Calibration Precautions
During the calibration process of the ultrasonic thickness gauge, the following issues should be paid attention to:
Before calibration, check whether the numbers on the host display are clear to avoid shortages, hidden lights, etc.;
Keep the appearance of the standard block clean, without any appearance defects that affect the accuracy, such as rust;
The use of couplant, pay attention to the couplant should not be too small, it needs to cover the probe area;
During the calibration process, keep the probe tightly attached to the standard block and keep it still to ensure the accuracy of the data.
V. Ultrasonic Thickness Gauge Calibration Standard
Standards generally refer to absolute references against which other measurements can be compared. This is no different than ultrasonic thickness gauges as they need to be compared to some standard or absolute value to determine their correctness and consistency.
Therefore, ultrasonic thickness gauge calibration standards are essential tools for accurate calibration operations. These standards come in different shapes and sizes, and they also depend on the application, shape and structure of the object being evaluated. A key requirement is that the standard material must be identical to the material being tested.
This will help determine the accuracy of the calibration and the defects you intend to detect, including corrosion, wear or erosion. Nonetheless, there are many calibration standards that conform to recognized authorities, documents or specifications that are commonly used for the calibration of thickness gauges in general. However, specially designed standards can also exist to meet specific calibration needs.
VI. Conclusion
In summary, measurement systems and equipment must be calibrated to make precise and accurate measurements or readings. Without arguing whether measurements can still not be taken without calibration, readings may be slightly inaccurate and analysis will still be limited if not calibrated.
Finally, ultrasonic thickness gauge standards and charts are also necessary for the calibration process, and different standards apply to different calibration measures. But here's the truth: the material of the standard used must match the material being inspected.
With this wealth of information at your disposal, the calibration of an ultrasonic thickness gauge should not cause you any headaches.
- Auto Paint Meter Test Used Car
- Transmittance Meter | Measures to Improve Frosted Glass Transmittance
- Application of Coating Thickness Tester in Heat Insulation Coating Industry
- Difference between UV Integrator and UV Energy Meter
- Is the Light Transmission Meter Good or the Solar Film Killer?
- The Calibration Of UV Energy Meter