Why Do We Calibrate the Coating Thickness Gauge?
1. Why do we calibrate the coating thickness gauge?
For measurement instruments, calibration is the process of control and recording. Through measurement traceability calibration standards, the accuracy of the instrument's measurement under specified conditions can be verified. In the process of long-term use of the coating thickness gauge, because the storage environment is too humid. Or the instrument and the probe have a strong collision, it may cause the instrument to be inaccurate.
Many users don’t know that the coating thickness gauge needs to be calibrated, just pick up the coating thickness gauge and start measuring the product. Repeated testing several times and found that the value is not too different, they think it is the correct measurement reading. Are not accurate, how can you measure an accurate reading? Some customers know that calibration is needed, but they do n’t know the calibration method of the coating thickness gauge and do not perform an accurate calibration, so the measured numerical results are still biased.
Therefore, correct calibration of the coating thickness gauge before use can ensure that the measurement results have reference value.
2. How to calibrate coating thickness gauge?
The common calibration methods for coating thickness gauges are zero-point calibration and multi-point calibration.
Zero calibration: It is to perform zero calibration on the metal substrate (uncoated substrate) of the product.
(1) Select a zeroing plate, which is an uncoated metal substrate. (Because the surface roughness of the workpiece is different, it is not necessarily an absolute zero position after zero adjustment, which is normal.)
(2) Select calibration, then perform zero calibration. Press the probe vertically and smoothly on the substrate and the zero calibration will be performed automatically together.
(3) Repeat step 1 and 2 above to improve measurement accuracy.
Multi-point calibration: Use standard boards for calibration. This calibration method is suitable for high-precision measurement and small workpieces, hardened steel, alloy steel.
(1) Calibrate the zero point first
(2) Then perform a measurement on a standard board having a thickness approximately equal to the expected thickness of the cover layer to be measured. Then correct the reading so that it reaches the standard value.
(3) Cover with multiple standard films, make measurements. Then correct the readings in order to reach the standard value. For example, standard boards with thicknesses of 50um, 100um and 250um are calibrated at multiple points.
3. Common faults of coating thickness gauge
(1) The battery is out of power
When the instrument is not used for more than 5 days, the battery should be removed. If the instrument shows a low voltage prompt, you need to replace the battery in time to ensure the performance of the instrument.
(2) Restore the factory settings
When the operation is wrong and I don't know if it is corrected, you can restore the factory settings according to the instruction manual of the coating thickness gauge. The steps for restoring factory settings for different brands of coating thickness gauges are different. The specific operating instructions shall prevail.
4. How to choose the right coating thickness gauge?
When buying coating thickness gauge, you need to know the following points:
(1) Confirm the substrate. The substrate is magnetically permeable metal (steel, iron) and the coating is non-magnetically permeable. Select an iron-based coating thickness gauge. The substrate is non-magnetic metal (copper, aluminum), the coating is non-metal material, non-ferrous coating thickness gauge is selected. If both of the above situations exist, choose dual-use coating thickness gauge, the instrument automatically recognizes the substrate.
(2) Pay attention to the measurement range when purchasing the instrument. The test range is different for different instruments.
(3) The measurement accuracy of the instrument requires the user to determine whether the accuracy of the instrument meets the requirements of his own production process.
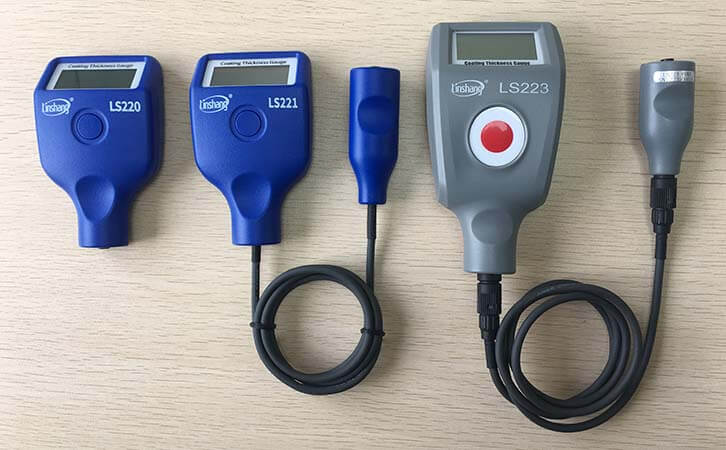
The coating thickness gauge developed by Linshang Technology is an iron-aluminum dual-purpose coating thickness gauge, which does not need to be switched. The instrument automatically recognizes the substrate, which makes operation easier. The measuring range of different instruments is different, which meets a variety of measurement needs, up to 5mm.
- High precision coating thickness gauge for used car
- Automotive paint protection films coating thickness gauge
- Plating Thickness Measuring Instrument for Detecting Anti-corrosion Coating
- Linshang LS220, LS191, LS160A– Necessary for Car Cover Inspection
- Coating Thickness Gauge for Second Hand Vehicle
- Zero Adjustment Step of Coating Thickness Gauge
