FAQ About Handheld Thickness Gauge
The handheld thickness gauge is a relatively professional instrument.Customers who use the instrument for the first time often encounter some problems.Here we have compiled the following frequently asked questions and answers.
1.How do I switch the measurement mode to the auto mode?
In the off state, long press the power button to enter the setting mode.Short press the power button to select Fe/NFe,the selection will be confirmed without any operation after 2s and then enter the measurement interface.

As for the specific operation, please refer to the following video
2.How to switch the language of the handheld thickness gauge?
In the off state,long press the power button to enter the setting mode.
First step: Short press the power button to switch the option. After selecting the language, the selection will be confirmed without any operation after 2s.
Second step: Then enter the language setting interface,there are Chinese and English .The options are optional.
Third step: After selecting the desired language,the selection will be confirmed without any operation after 2s and then enter the measurement interface.

3.Why will the zero adjustment board not display 0 after successful zero adjustment?
After the zero adjustment is successful, the measurement data is within 0.2 μm, which is within the normal error range. If the data of the zeroing board is repeatedly tested and exceeds the error range of the instrument, this may be due to the irregularity of the zero adjustment. The correct zeroing method is as follows:
(1) Hold the coating thickness gauge near the groove of the probe and press the probe vertically on the zero plate;
(2) Make sure that the position of the probe does not move, short press the power button on the instrument;
(3) Lift the instrument according to the prompt and lift it up to 15cm.
(4) Wait until the data is 0, indicating that the zero adjustment is complete and the test can be started.
For how to make zero adjustment of the coating thickness gauge ,please refer to the following video
4.Why is the data tested each time using the handheld thickness gauge different?
(1) The instrument itself has a accuracy range. If the error is within the range of accuracy, it is normal.
(2) If the accuracy range of the instrument is exceeded, please confirm the operation method during the measurement. When using the instrument, please strictly follow the requirements in the manual, hold the groove and ensure that the probe of the instrument is pressed vertically on the surface of the coating under test. After finding a suitable location and using it a few more times, this situation will not happen again.
5.Always show the indication of over range when measuring
There are a number of situations that can cause such a prompt to appear.The details are as follows:
First:the measurement is not a metal substrate

Second: Ferrous measurement mode (Fe) is used to measure the coating thickness on the non-ferrous metal substrate.

Third: The coating thickness exceeds the measurement range of the instrument.
We generally recommend switching the measurement mode of the instrument to the auto mode Fe/NFe before use.This mode can basically avoid the latter two cases.
6.Is the USB interface next to the coating thickness gauge used to export the data?
No,the USB interface next to it is used to import the instrument program in the production process.If you need to export the data, you can choose LS220B Bluetooth coating thickness gauge. This instrument can transfer data to the mobile phone software through Bluetooth and generate testing report.
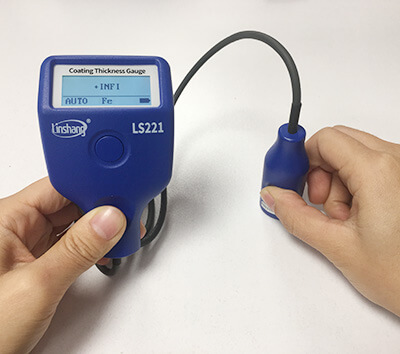
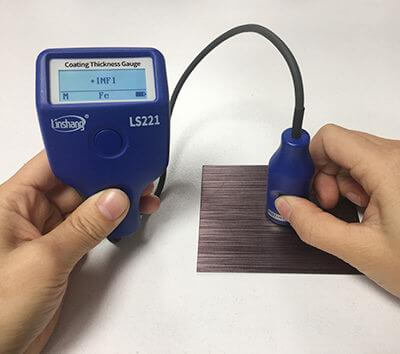
7. The instrument displays "-INFI" or negative value during measurement
(1) Display negative values
A.The test method is incorrect, please press the probe vertically on the surface of the tested material
B. Zero adjustment was performed on the coated substrate and the coating thickness measured thereafter was less than the coating thickness measured during zero adjustment.
(2) Display -INFI
It indicates that the measured value is less than -100um, which is caused by the non-standard zero adjustment.
- High precision coating thickness gauge for used car
- Automotive paint protection films coating thickness gauge
- Plating Thickness Measuring Instrument for Detecting Anti-corrosion Coating
- Linshang LS220, LS191, LS160A– Necessary for Car Cover Inspection
- Coating Thickness Gauge for Second Hand Vehicle
- Zero Adjustment Step of Coating Thickness Gauge
