Plating Thickness Gauge | How To Measure Plating Thickness?
The plating thickness measurement is an important part of the electroplating process quality inspection and an important guarantee for the quality of the electroplating products. In order to control the plating thickness, various measurement methods are needed. The most common of which is the non-destructive measurement of the plating thickness using the magnetic method and the eddy current method plating thickness gauge.
I. Various ways to measure the plating thickness
1. Magnetic induction method plating thickness gauge
The plating thickness is determined by the amount of magnetic flux that the probe passes through the non-ferromagnetic plating and flows into the ferromagnetic metal substrate. Magnetic induction plating thickness gauge is suitable for measuring non-magnetic metal platings on ferromagnetic metals such as steel, paints, varnishes, enamels, plastics, rubber coatings, chromium plating, zinc plating, cadmium plating, copper plating, etc.
2. Eddy current method plating thickness gauge
An electromagnetic field is generated in the probe coil by the high-frequency AC signal. When the probe is close to the conductor, an eddy current is formed therein. The closer the probe is to the conductive substrate, the greater the eddy current and the reflected impedance capability. This feedback characterizes the distance between the probe and the conductive substrate, that is, the non-conductive plating thickness on the conductive substrate.
3. Other plating thickness measurement methods
In addition to the above-mentioned magnetic and eddy current thickness measurement methods, there are wedge cutting methods, optical methods (such as contour size measurement method, double beam microscope method), electrolytic methods (such as anodic dissolution Coulomb method), metallographic methods, chemical methods (spotting method, dissolution weighing method, chronofluid method), mechanical method such as weighing method, thickness difference measurement method, X-ray fluorescence method, β-ray backscattering method, capacitance method and other plating thickness measurement methods.
The capacitance method is only used when measuring the insulating plating thickness of a thin conductor. X-ray and β-ray methods are also non-contact and non-destructive measurement, the measurement range is small. X-ray method can measure very thin plating, double plating, alloy plating. The β-ray method is suitable for the measurement of platings and platings with atomic number greater than 3. Using α-ray, β-ray, γ-ray to measure the thickness of the plating, but the price of this thickness gauge is relatively high and the application range is small. Most of the instruments are desktop instruments are heavy and not convenient to move and can not be measured at any time and anywhere.
II. LS225 plating thickness gauge measures the plating thickness
Among the various plating thickness measurement methods mentioned above, Hayami invented the LS225+F500 plating thickness gauge and the LS225+N1500 plating thickness gauge using the magnetic induction plating thickness measurement method and the eddy current thickness measurement method. The LS225+F500 is suitable for measuring ferromagnetic metals and the LS225+N1500 is suitable for measuring the thickness of non-conductive plating on non-magnetic metal substrates.
Suitable substrate: ferromagnetic metal
Measuring range: 0-500μm
Resolution: 0.1μm: (0μm-99.9μm); 1μm: (100μm-500μm)
Suitable substrate: anodic oxide layer thickness on aluminum
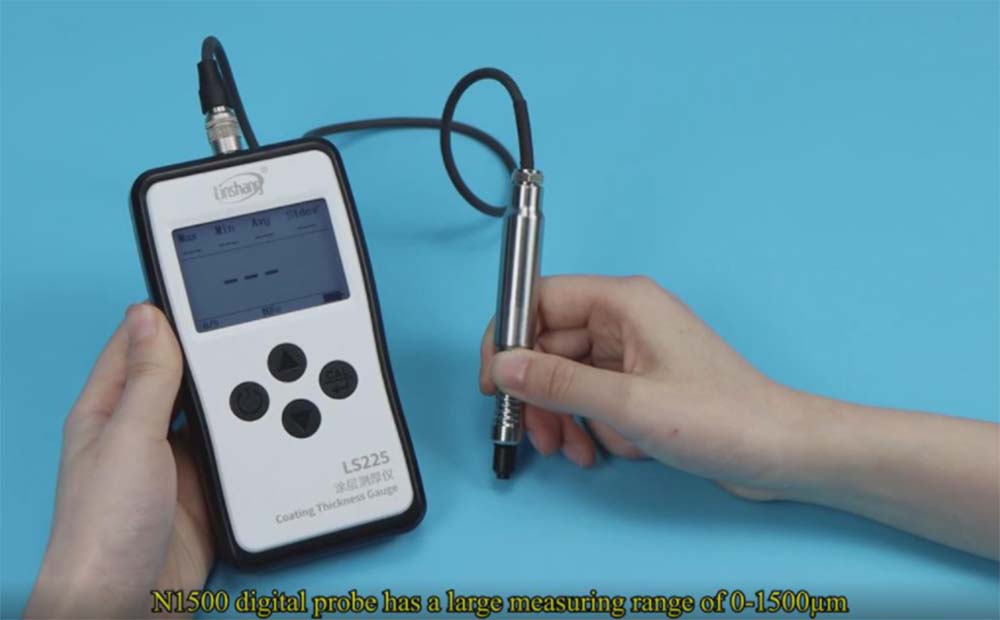
Measuring range: 0-1500μm
Resolution: 0.1μm: 0μm - 99.9μm; 1μm: 100μm - 999μm; 0.01mm: 1.00mm – 1.50mm
2. LS225 plating thickness gauge features
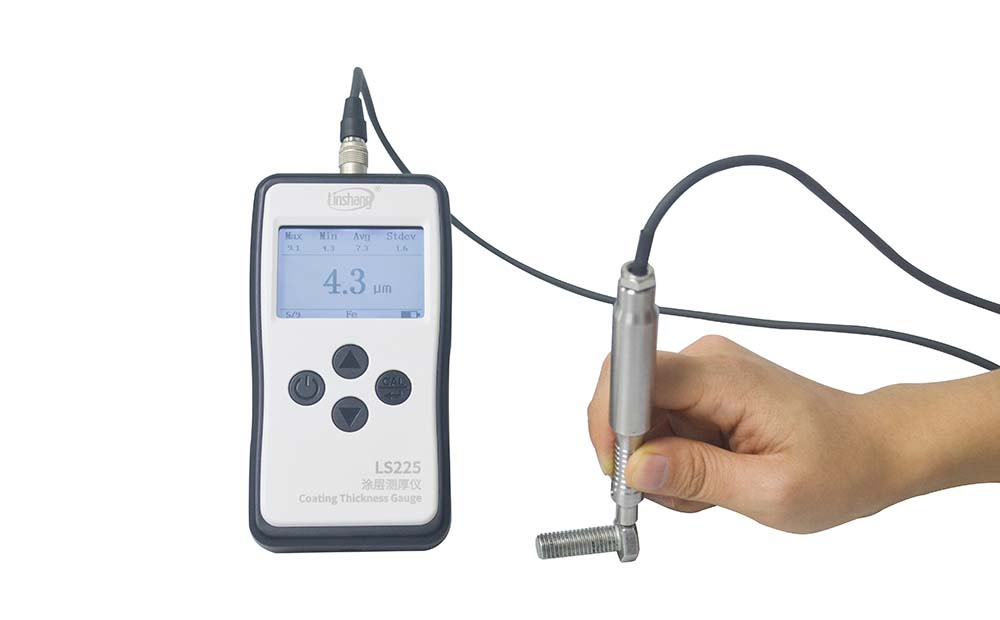
With ultra-small probes, it is especially suitable for measurign thin platings on nails, bolts and other small workpieces, as well as various concave and convex surfaces.
upport 1-5 point calibration, the measurement is more accurate.
With data statistics function, it automatically counts the maximum, minimum, average and standard deviation values of the last 9 measured values
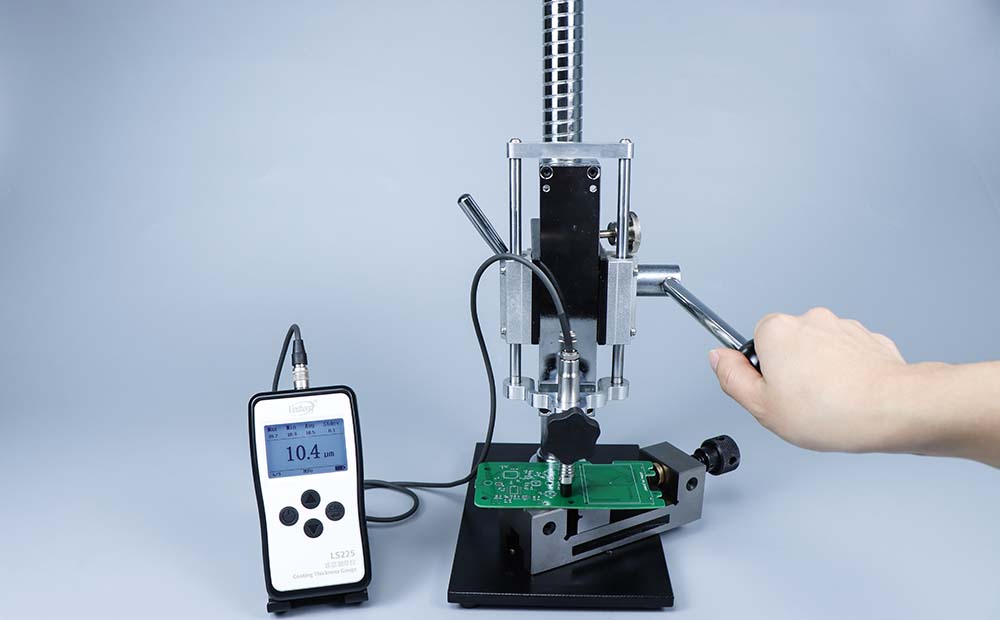
The user can choose a special test fixture, which not only makes the measurement more convenient, but also eliminates the measurement error caused by human factors.
Using digital digital oscillation technology and digital probe technology, the measurement data has ultra-high precision and stability.
The instrument is designed with a high rigidity probe, which can ensure the long-term effective use of the instrument.
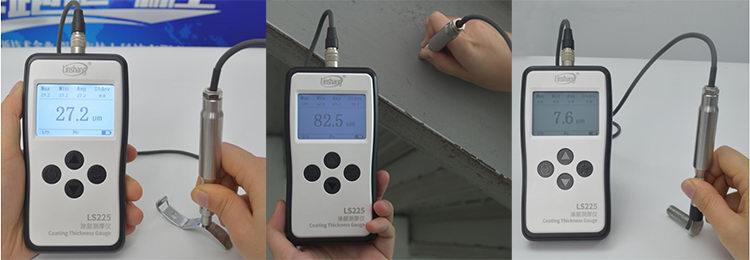
3. LS225 plating thickness gauge operation
Setting up. Press and hold the power button in the off state or press the power button briefly in the on state to enter the instrument's main menu interface. Select "Setup Options" to select the language, unit, auto-off time, and measurement mode.
-
Zero adjustment. Due to the different parameters of magnetic and conductive properties of the measured material or the change of ambient temperature, it will cause some measurement errors. In order to reduce the subsequent measurement error, zeroing operation should be performed first. Before calibration, the instrument will prompt "zeroing", please prepare the unpainted standard workpiece or zeroing plate, and follow the instructions.
When the instrument prompts "zeroing please press the probe", press the probe vertically at the center of the zeroing plate or standard workpiece, and keep the probe stable without tilting and shaking. After hearing the buzzer tone, the instrument prompts "please lift the probe more than 4cm", lift the probe and leave the zeroing plate or workpiece more than 4cm. After hearing the buzzer beep again, the instrument prompts "zero check", then measure the zeroing position and check the zeroing result. Select "re-zero" to repeat the above zeroing operation; select "end zeroing" to enter the calibration operation.
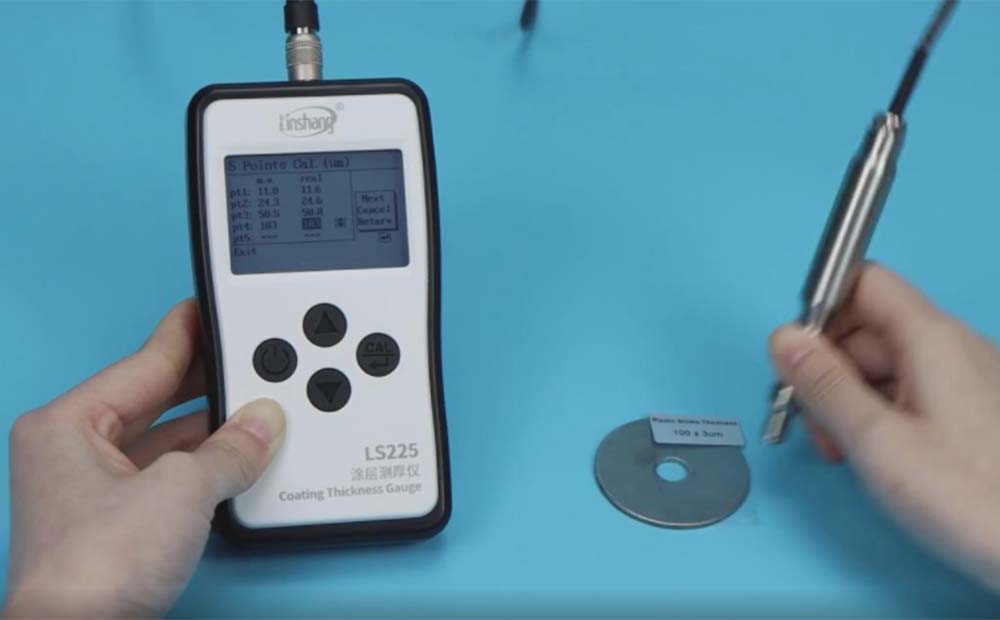
Calibration. The LS225 plating thickness gauge is equipped with 7 standard films as standard. Users can calibrate 1 to 5 points according to their needs. When choosing multi-point calibration, the standard slices should be calibrated in order from thin to thick, and each slice should differ by more than 5 μm.
Measurement. Finger grip the probe has a non-slip pattern position. If the optional hand pressure test frame, the probe is fixed in the probe fixing hole of the frame. Press the instrument probe vertically on the surface of the object to be measured, keep the probe stable and do not tilt or shake, the measurement result will appear on the screen and a buzzer will indicate. The plating thickness tester can save up to 9 sets of test data during measurement. It can display the maximum value, minimum value, average value and standard deviation value of 9 data on the screen.
For complete and detailed operation steps, please refer to the user manual of LS225 plating thickness gauge.
III. Plating thickness relevent knowledge
1. Classification according to the plating
The plating usually has two uses, namely: to endow or improve the state of the material surface, or to make the surface structure of the material have a certain function. Therefore, it can be generally divided into decorative, protective or functional platings.
(1) Protective decorative plating
Corrosion, rust, etc. are the biggest threats to product service life, which will not only damage the appearance, but also affect the function of the product. In addition to improving the appearance of the product, the general decorative plating can also play a protective role, such as chemical anti-corrosion and anti-rust, or mechanical anti-wear to reduce friction.
(2) Functional plating
Functional plating mainly refers to those platings that can make the material surface have a special function. Various new functional platings can increase the surface hardness of the material, improve friction, reduce wear, improve electrical conductivity, reduce contact resistance, enhance magnetism, prevent diffusion and penetration, or repair worn parts.
2. Classification according to the electrochemical relationship between the plating and the substrate
According to the electrochemical relationship between the plating and the substrate, the plating can be divided into cathodic plating and anodic plating. The liveliness of the metal is different, which is also an important way to judge the type of plating.
(1) Cathodic plating
The metal substrate of the cathodic plating is more active than the plating. Such a plating usually covers the substrate completely to protect the substrate. Typical ones are copper and nickel plating on steel. Since the cathodic plating only has a certain thickness, it has a protective effect on the substrate. Therefore, the plating thickness and porosity are required. Usually, a plating thickness gauge is used to control the plating thickness.
(2) Anode plating
The plating metal of the anodic plating is more active than the substrate. When the plating layer encounters corrosive substances, the plating layer will corrode first, thereby protecting the substrate from corrosion. Typical examples include zinc plating on steel.
- High precision coating thickness gauge for used car
- Automotive paint protection films coating thickness gauge
- Plating Thickness Measuring Instrument for Detecting Anti-corrosion Coating
- Linshang LS220, LS191, LS160A– Necessary for Car Cover Inspection
- Coating Thickness Gauge for Second Hand Vehicle
- Zero Adjustment Step of Coating Thickness Gauge
