What are the metal hardness testing methods?
Hardness is one of the commonly used indicators to judge the mechanical properties of metals. The main purpose of hardness testing is to determine the suitability of a material, or the effect of a particular hardening or softening treatment on a material for its intended use. For the tested material, the hardness represents the comprehensive performance of various physical quantities such as elasticity, plasticity, strength, toughness and wear resistance reflected under a certain indenter and test force.
Since the hardness test can reflect the performance difference of metal materials under different chemical composition, structure and heat treatment process, the hardness test is widely used in the inspection of metal properties, supervision of heat treatment process quality and development of new materials.

Test methods
There are generally two test methods for metal hardness testing according to the test force application speed. One is the static test method, including Brinell, Rockwell, Vickers, Knoop, Pap and so on. Among them, the three test methods of Bu, Luo and Wei are widely used. Another test method is the dynamic test method, including Shore and Leeb hardness tests. The dynamic test method is mainly suitable for hardness testing of heavy, large and immovable metal workpieces.
Static test method
The static test method means that when the test force is applied slowly and without impact, the determination of hardness depends on the condition of the indentation on the surface of the measured object, that is, the depth of the indentation, the projected area or the size of the gravure area. This paper mainly introduces the following three static test methods.
Rockwell hardness test method
Using 120° diamond indenter to measure, the measurement method is simple. Since the diamond indenter and two kinds of diameter steel balls are used as the indenter, there are three detection forces, which can measure the hardness of soft and hard materials. It has a wide range of applications and is suitable for hardness testing of finished metals such as cutting tools, molds, and tools.
Brinell hardness test method
The pressure is relatively large, and the diameter of the indentation is large. It is suitable for hardness measurement of large-grained metal materials such as cast steel, alloy materials, and annealed steel. However, the operation time is long, and the indenter and detection force need to be selected and replaced for different soft and hard metal materials, and the indentation measurement is also time-consuming.
Vickers hardness test method
Using a regular quadrangular pyramidal diamond indenter with a tetrahedral angle of 136°, all metals can be measured except for metal materials with extremely small and thin sample layers. The hardness value obtained after changing the detection force for any same material is the same or similar.
Dynamic test method
The dynamic test method means that the characteristics of the applied test force are dynamic and impactful. This article mainly introduces the following two dynamic test methods.
Shore hardness test method
A standard punch is used to drop freely on the metal surface from a certain height. Due to the elastic deformation of the metal, it rebounds to a certain height. The ratio of the dropped height to the rebound height is used to calculate the Shore hardness, which is suitable for measuring the metal material of the workpiece that has been installed. .
Leeb hardness test method
The impact body is used to impact the surface of the metal material under the action of the elastic force, and the Leeb hardness is calculated by calculating the ratio of the impact velocity and the rebound velocity at a distance of 1mm from the metal surface to be tested. It is suitable for the hardness measurement of heavy, large, and installed metal materials.

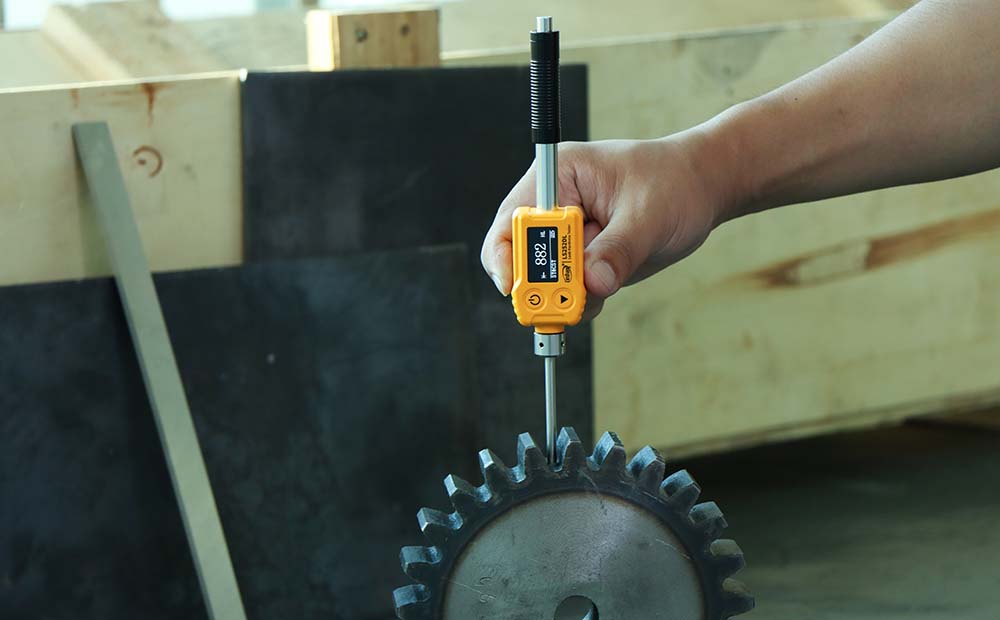
leeb hardness tester measures gear

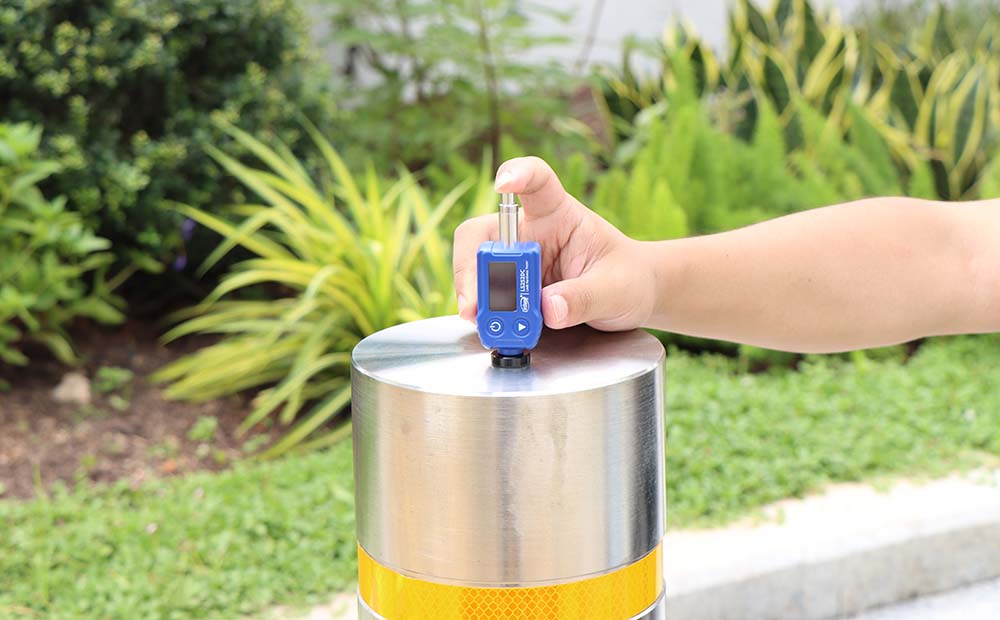
leeb hardness tester measures stainless steel

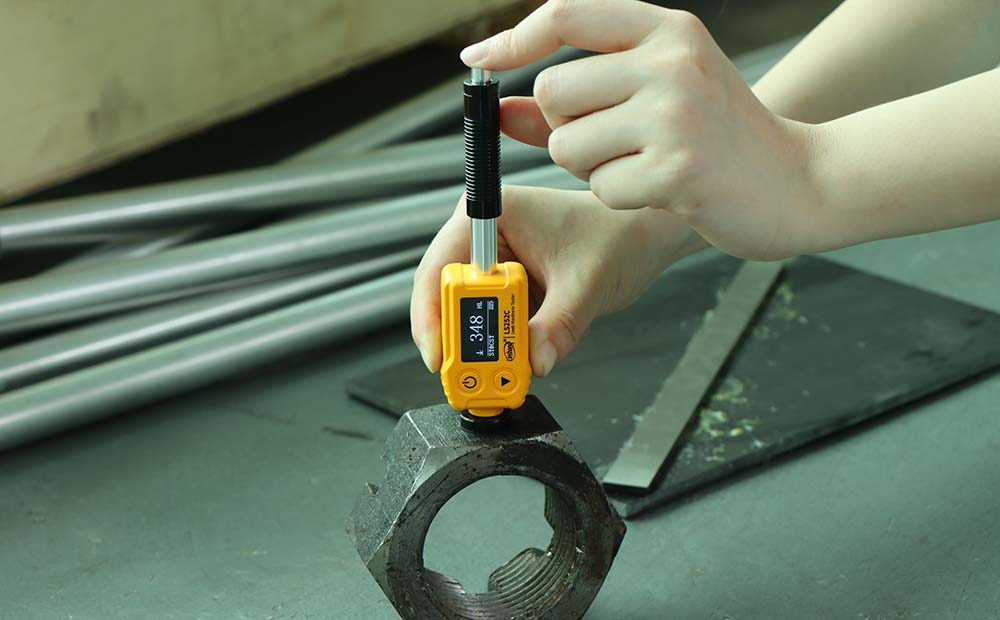
leeb hardness tester measures iron
Advantages and disadvantages of the two test methods
Most of the static test methods require the use of a benchtop hardness tester, which has accurate measurement results but is bulky, heavy, and takes a long time to test. Impossible to go to the site for measurement and also unable to measure large workpieces. In addition, the indentation of Brinell and Rockwell hardness testers is relatively large, and the damage to the material is relatively large. Vickers uses optical measurement to have high requirements for operators.
The dynamic test method is a portable hardness system, small in size, light in weight, and easy to carry. And it has a built-in switching function of multiple hardness systems, which can be easily switched to other hardness systems without manual conversion.
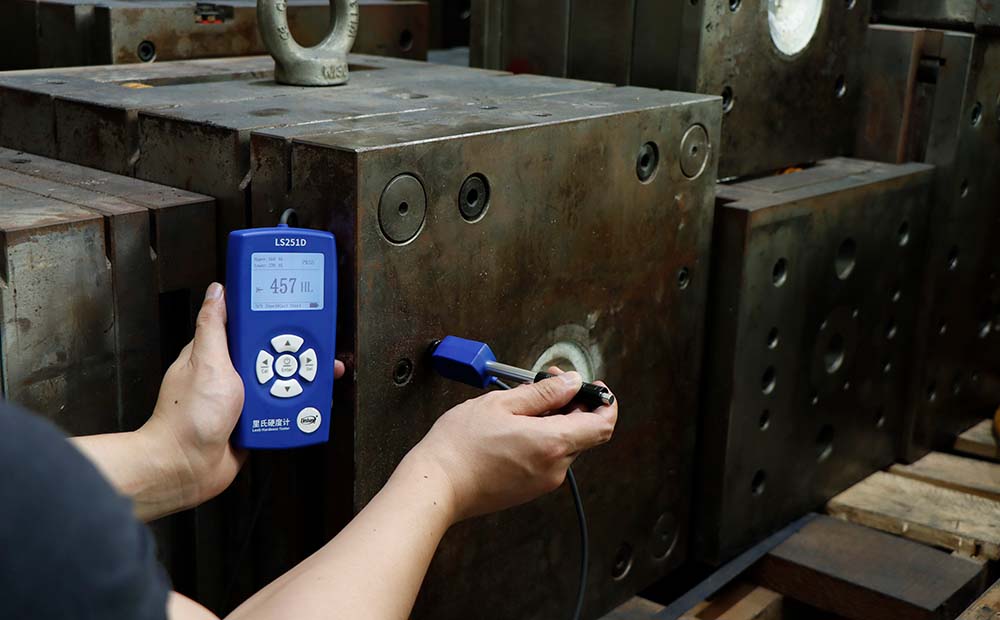
The Leeb Hardness Tester is a portable hardness tester that is less affected by space. We recommend the LS251D Leeb Hardness Tester for metal hardness testing. It can be measured by Leeb hardness, Rockwell hardness, Vickers hardness and other hardness systems. It is easy to use and is suitable for various parts measurement and industrial measurement scenarios.
The instrument can realize mutual conversion between 9 kinds of materials and 7 hardness standards, eliminating the tedious manual table look-up conversion and saving most of the conversion time. At the same time, the instrument is equipped with a direction compensation sensor, which can easily achieve 360-degree measurement. The result is still accurate , and equipped with a standard hardness block that can be calibrated by itself to ensure that the accuracy of the instrument remains stable for a long time. Compared with the Leeb hardness tester on the market, it is more cost-effective.